My brother and husband are bacon eaters. If they could have bacon on everything they would. I’ve seen bacon made a lot of ways; chocolate covered, chicken fried, ice cream…etc. So I decided I would try my hand at making cupcakes with bacon. A little sweet, a little salty and all around yummy. After a couple of rounds of trial and error, I found something that works. And I am going to share it with you!
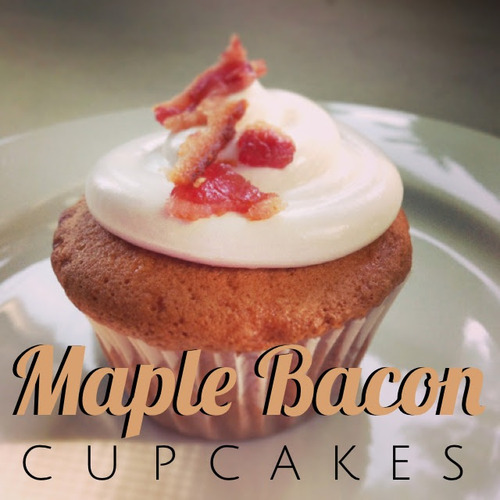
Maple Bacon Cupcakes
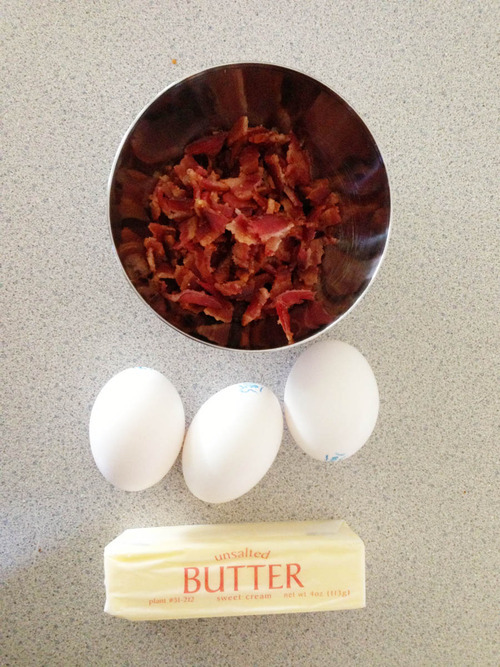
Butter Cake Mix ( I used the Butter Golden Mix by Duncan Heinz and followed the directions on the box.)
Bacon
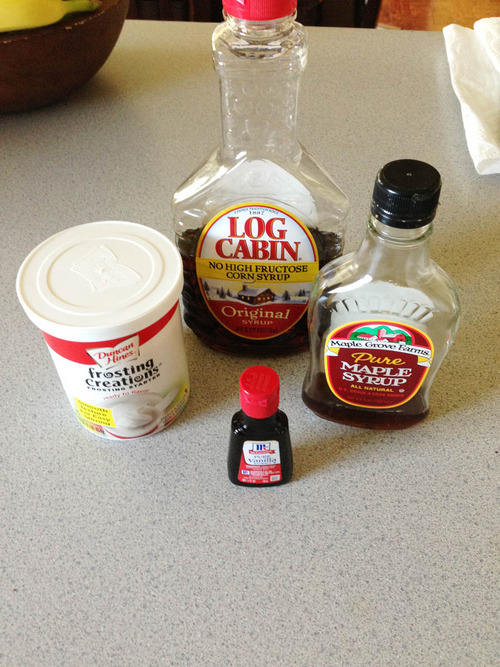
Maple Syrup, Regular Syrup and vanilla
A can of Frosting Creations by Duncan Heinz, starter or base frosting
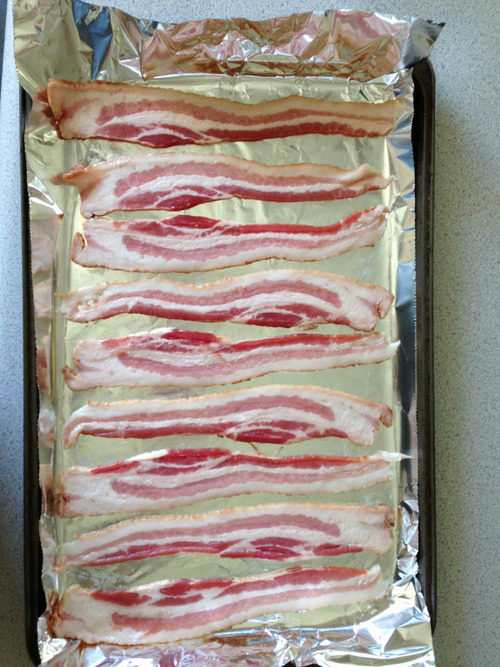
Preheat your oven to 400 degrees. Line a baking sheet with foil and place uncooked bacon on it. Place the bacon close but not touching. You don’t need much. I used 9 pieces.
If you’d prefer to fry the bacon in a pan, please do so. I just like this method.
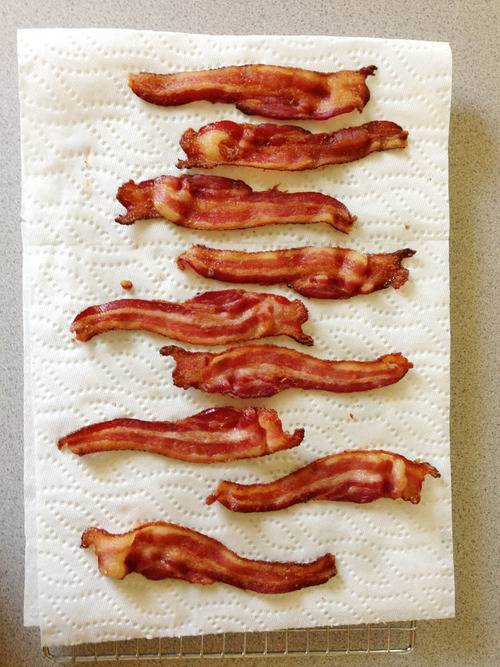
Place in the oven and bake for 15 min. Check it and if it’s not done cook for 5 more minutes. It should be brown and crispy looking.
When it’s done, place on a cooling rack covered with a paper towel.
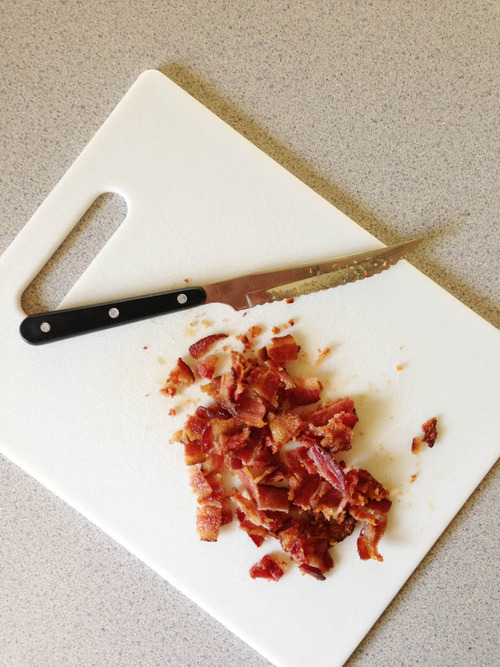
Once it’s cooled, roughly chop it.
Next, prepare the cake mix according to the box. You will need 3 eggs, 7 tablespoons of butter (softened) and 1/2c of water and, of course, your chopped bacon. Set aside some of your chopped bacon to garnish the top of your cupcakes.
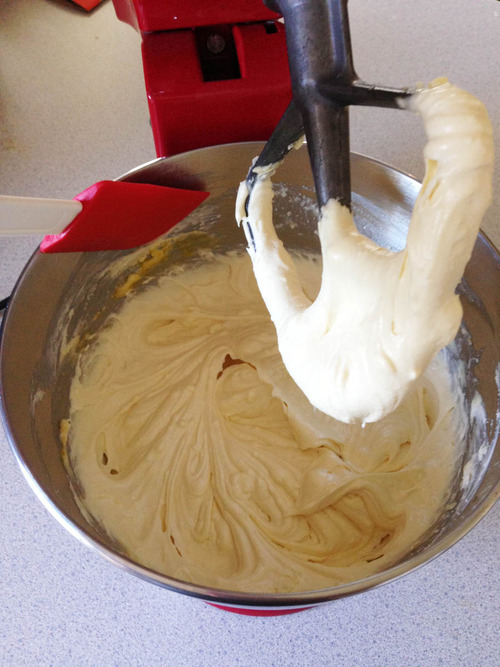
Mix your cake mix.
Once you’ve followed the directions for mixing the cake mix, scrape the sides of the bowl.
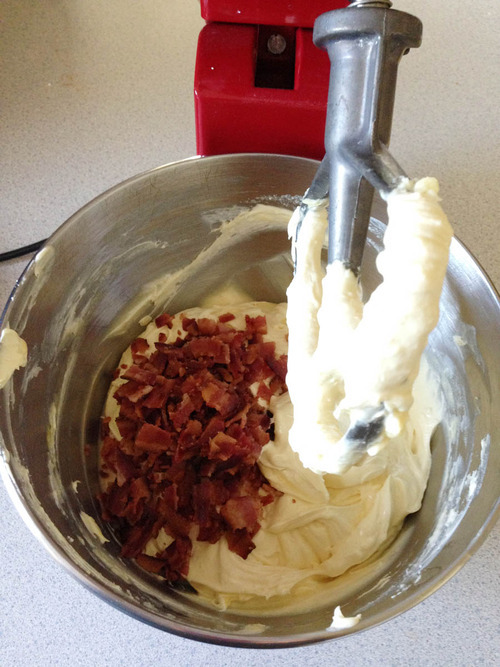
Then add your bacon.
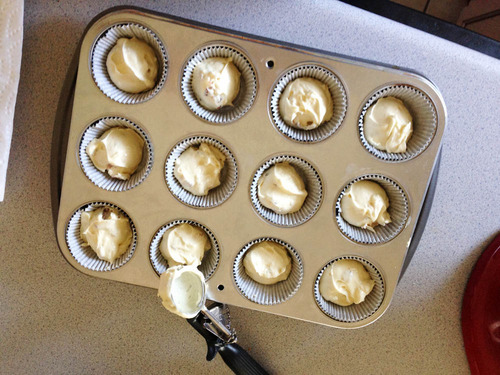
Fold the chopped bacon into the cake mix. Then line a cupcake tin with liners and fill half way with the cake mixture.
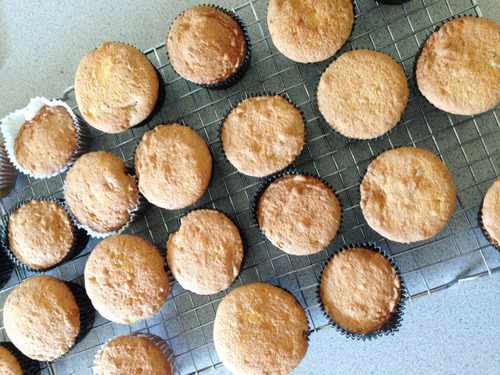
Bake according to the box. Check for doneness with a toothpick. Once they are done, take out and cool COMPLETELY on a cooling rack.
And while the cupcakes are cooling, it’s time to make the frosting!
I used a mixture of regular syrup, maple syrup and a couple drops of vanilla. But I didn’t really measure how much I used, I just kind of went by taste. oops!
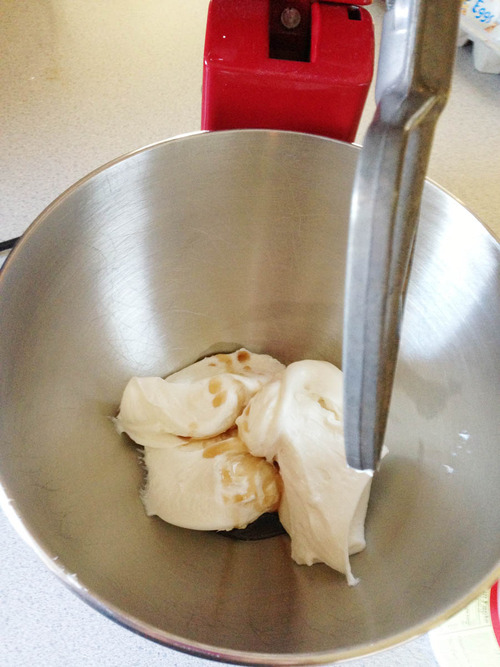
Empty the Frosting into the bowl of your mixer.
I would start with a 1/2 tablespoon of maple syrup and 1/2 tablespoon of syrup and then go from there. Add vanilla if you feel it needs it, it may not. Play around with the flavor.
Once you’re happy with the frosting, scoop it into a large ziplock bag. I snipped the corner and put a #12 decorating tip through it. No worries if you don’t have decorating tips, you can just snip the corner or do it the old fashion way and spread it on top of the cupcake.
( if you choose to “pipe” on your frosting, make sure to apply VERY LIGHT pressure near the top of the bag, above the frosting, and slowly push down)
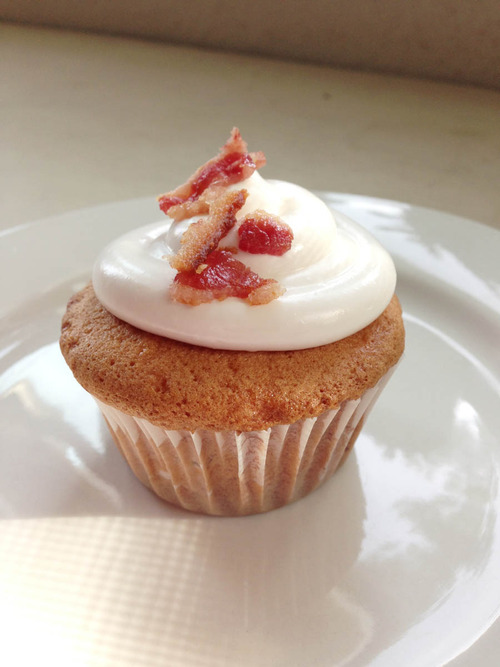
And then you’re done!! Top with the reserved bacon and enjoy!!